Ice cream is a favorite dessert throughout the year, but summertime provides countless excuses to eat as much ice cream as you possibly can. You’re hot? Have some ice cream. You want to spend some time with your friends? Go get some ice cream! You want some dessert after dinner? You guessed it 🙂 Have some ice cream~~
 (delicious frozen custard in Kentucky)
Now people can argue over different variations of ice cream. Gelato, frozen yogurt, frozen custard, milkshakes, sherbert, and the list goes on. And once you decide on that, you have to choose a flavor. The options are just about endless. No matter what you choose though, the age old question that you have to answer is: Bowl or cone?
 (even more delicious gelato in Italy)
I used to always go for a bowl, because I didn’t like the cardboard-like texture of the cheap sugar cones. But if you give me the option of a waffle cone? That wins all the time. The crunchy, buttery texture of a waffle cone, plus the fact that waffle cones can also come as waffle bowls, makes them the perfect receptacle for ice cream. Plus, there’s no dirty dishes to wash afterwards if you eat from a cone.
While I lived overseas, we couldn’t get waffle cones at the store, and the ones at ice cream stores were outrageously priced, which meant that waffle cones were a treat, that we usually only got when we visited our grandparents. Since I’ve been back with my family, we’ve needed waffle cones, but still haven’t been able to find them. So , I finally looked up a waffle cone recipe online and decided to try and make them.

(yes, these are the finished product, don’t they look wonderful?!)
Have you never tried to make waffle cones because you don’t have a waffle cone maker/ iron? Not to fear! You can make waffle cones without it. The above picture is proof. I hadn’t tried to make these before, because we have neither a waffle cone maker nor a cone to wrap the waffles around to make them conical. Yet, these still turned out decently well. All you need is a little creativity. I fashioned a waffle form (cone shaped) out of some parchment paper, tape, paper towels, and some other odds and ends. Then, instead of baking the batter in a waffle cone iron, I used a skillet. True, you don’t get the cool crosshatched design on your cones, but that doesn’t change the flavor of the cones. I did try using the oven as well, but those were a disaster. So if you don’t have a waffle cone maker, use the stove. While they are a little time consuming, waffle cones don’t have a whole lot of ingredients in them. I used the recipe that I found on Our Best Bites by the way.
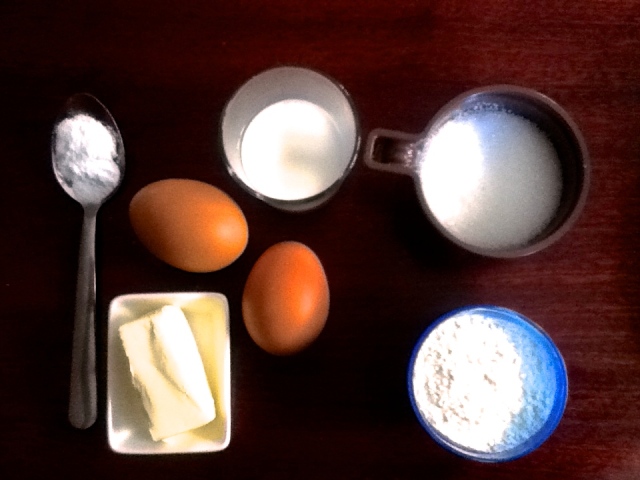
All you need are 2 eggs, 1/4 cup of butter, 1/2 cup of sugar, 2/3 cup of flour, 1/4 cup of milk, and 1 tsp of vanilla extract. See, it’s pretty simple!
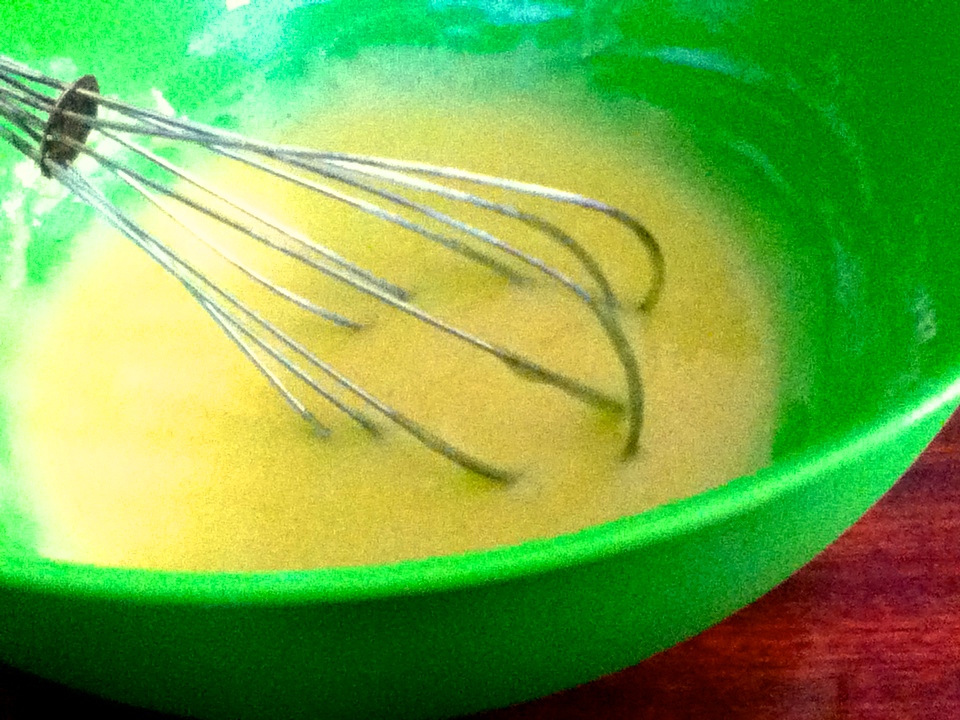
Whisk the eggs and sugar together for about a minute, until the mixture is light and fluffy. Add the flour, stirring until that is well combined. Add the rest of the ingredients. Mix everything together, but don’t over mix the batter.

Now here is where I tried using the oven form my first few attempts. They sadly did not work, so I decided to try the stove, which was much more successful. Unfortunately you have to work very quickly, so I wasn’t able to capture the process in pictures. Hopefully my descriptions will suffice.
Heat a medium sized skillet over medium heat once the batter is mixed. Pour a little bit of your preferred choice of oil on the pan to grease it. Using a ladle, pour a couple tablespoons of batter on the skillet, using the back of the ladle to spread it thinly. The batter should be thicker than pancake mix, but thinner than cookie dough. You want to spread it until it is almost see-through. Lower the heat of the stove to low. Cook on each side for 30-45 seconds, or until the batter is browned. Flip to the other side using a spatula. Once the cone is cooked, comes the hard part.
Transfer the flat cone between two sheets of parchment paper. (It is very hot, so if you need some more protection, at a paper towel or something). Wrap the waffle with the parchment paper around the cone form that you prepared earlier, making sure to pinch the point of the cone to close it off to prevent ice cream from dripping down it later. Hold it like that for 30 seconds, or until you are able to hold the cone without the parchment paper. Remove the waffle cone from the paper and the form, and set it on a rack to cool. It’s best to cook one waffle at a time, or the waffles will harden and you won’t be able to shape them. After they are cool, you can store them in an airtight container or serve them with ice cream!